DotWatcher.cc


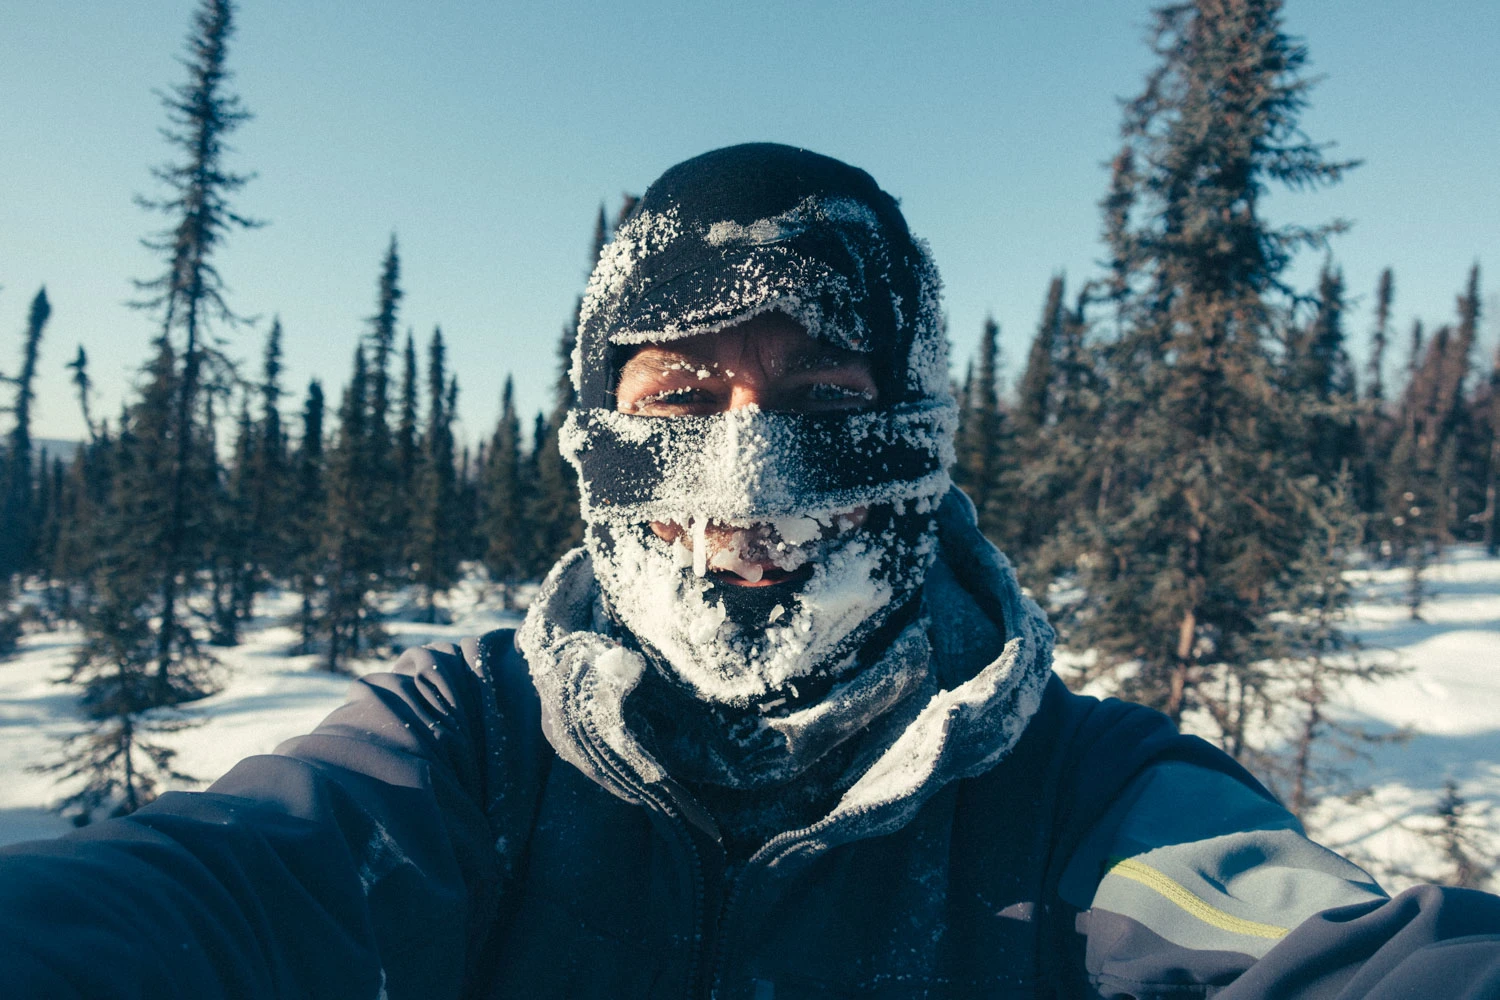
In conditions that can reach -40C/-40F exposure is a real risk on the Iditarod Trail Invitational, an athlete’s clothing setup is paramount in keeping them safe throughout the race. To give us an idea of how to prepare for such climates , ’s lead product designer is here to answer some questions. Graeme is an expert in cycling product design with over 15 years of experience, he has also recently worked on the technical clothing design for a South Pole expedition. Graeme originally studied fashion design and went on to be a bike mechanic, connecting these two worlds he has been at the forefront of cycling clothing design and is here to share his depth of experience so we can layer up for winter, whether it be in Richmond Park or McGrath Alaska.
We spoke to Graeme at the DotWatcher Viewing Party and have his answers from the night here:
Picture by
1. The first question on everyone’s mind in winter cycling is keeping fingers and toes warm and comfortable. Could you go through the best way to keep your extremities warm in extreme temperatures?
During his time as a bike mechanic Graeme always referred back to the first principles found in physics, does it need more torque? Lengthen it. He carried this over into how he views clothing.
Throughout his time as an artist, he studied life drawing and has a depth of knowledge of human anatomy from his time spent drawing anatomically correct figures and structures. The one thing that sticks out is how you have the boiler, your organs within the trunk and then your extremities. The boiler is full of large arteries with a big volume to surface area ratio, they are also deeper in the body so will lose far less heat. Whereas the further you move away from the boiler room you lose the thick arteries and move to smaller vessels closer to the skin in the arms and legs, finally to capillary networks in the hands whose sole purpose is to allow blood to move efficiently between tissue and vessels. This movement requires a large surface area to volume ratio, which also is the perfect way to lose heat.
This gives us two areas of focus for keeping warm: firstly, if the boiler room itself is cold, your extremities will be cold, the movement of blood from the core to the digits will only lose heat. Starting cold will only lead to colder hands and feet, keep the core warm and you already start in a stronger position to remain warm.
The second focus is on warming the hands and feet themselves. Blood flow is key to warming, so putting on a thick pair of socks may seem like the best way to stay warm, but if this decreases the circulation to your feet it’ll conversely reduce the heat transfer to the toes. With the hands, a great way to reduce the surface area to volume ratio is to go with mittens or a mitten hybrid, such as lobster claws if required for braking, to keep the insulation up and reduce the area in which heat can be lost through.
Lastly, keep your blood pressure up, as soon as you lose momentum and the amount of blood going to your extremities decreases you lose that crucial transfer of heat. If you stop, try and keep it to a minimum and keep moving.
Photo by
2. The temperatures can range from -40C to -10C on the Iditarod, this range means a balance needs to be struck between overheating and being too cold with the same kit. Can you tell us how to optimise your kit for this?
Graeme is no stranger to designing kit for ultra-distance events and races, knowing that having multipurpose kit is key to an efficient race. The question becomes, how can you broaden the temperature range of kit that you already have?
This is where Graeme’s chimney theory comes into play. If you imagine a jacket is like a house you have the chimney (the neck opening) funnelling air from the bottom opening of the jacket. This can either be prevented to increase warmth, with a tightening system on the base of the jacket or a stopper in the neck opening such as a snood or a scarf. The same phenomenon can be used to cool a rider in warmer conditions, open the neck zipper further and loosen the base to funnel cool air through the jacket.
Another way to enhance kit is with the ability to “heat dump”. The same points where you’d worry about losing heat, areas with vessels that have a high surface area to volume and are close to the skin such as wrists, can be used to heat dump. This can be achieved by zippable wrist openings on jackets, when fit snugly they will keep heat in and increase rider insulation but when opened right up they can dump heat and quickly cool a rider.
Another way to augment current kit is to use different combinations of clothing, for example, a summer base layer can be paired with snug insulated clothing and the mesh turns from heat and moisture-wicking layer to a heat trapper keeping a rider warm with the same bit of kit.
Lastly, smaller items can be used to supplement your current kit setup and will drastically increase the temperature when necessary but can easily be stowed when a rider has warmed up. The previously mentioned snood and scarf are great for this. Another useful item is a chest warmer, keeping that boiler room warm. Pro riders will stuff newspaper down the front of their jerseys before a particularly cold descent to increase insulation and wind resistance and then remove it when the effort peaks again. Using a similar concept insulated chest warmers can massively reduce temperature loss and then quickly be stowed when not necessary.
Photo by showing how you can use the chimney effect to your advantage.
3. Over a distance like this, I’m sure weight is everything. How can you keep your warm kit, warm but lightweight?
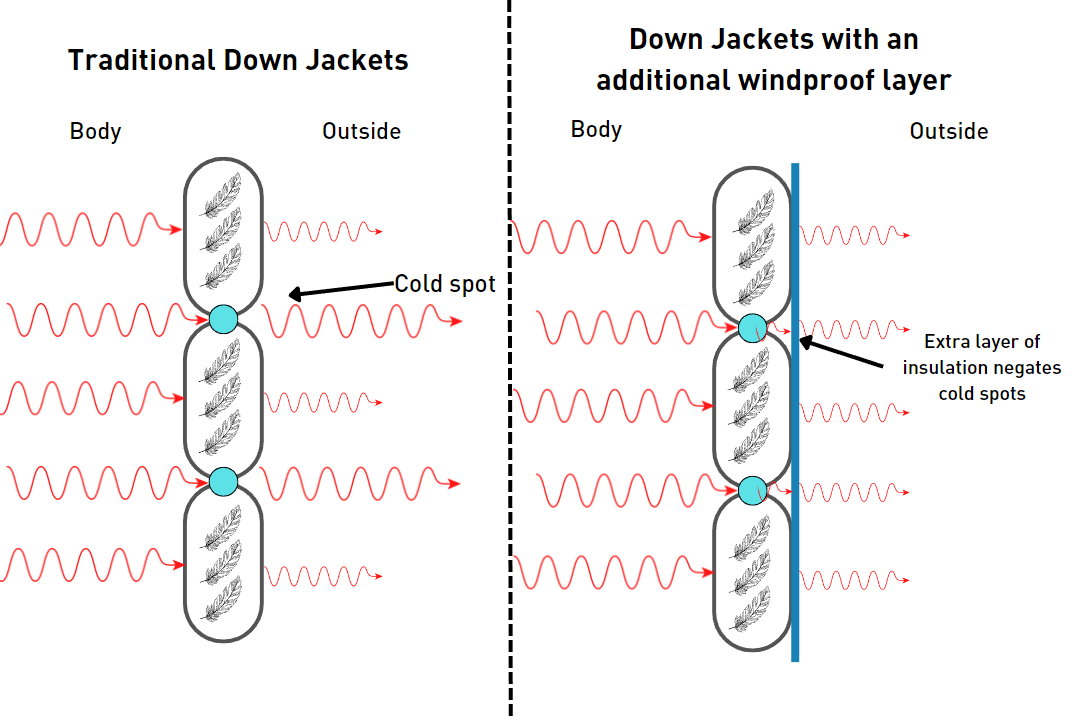
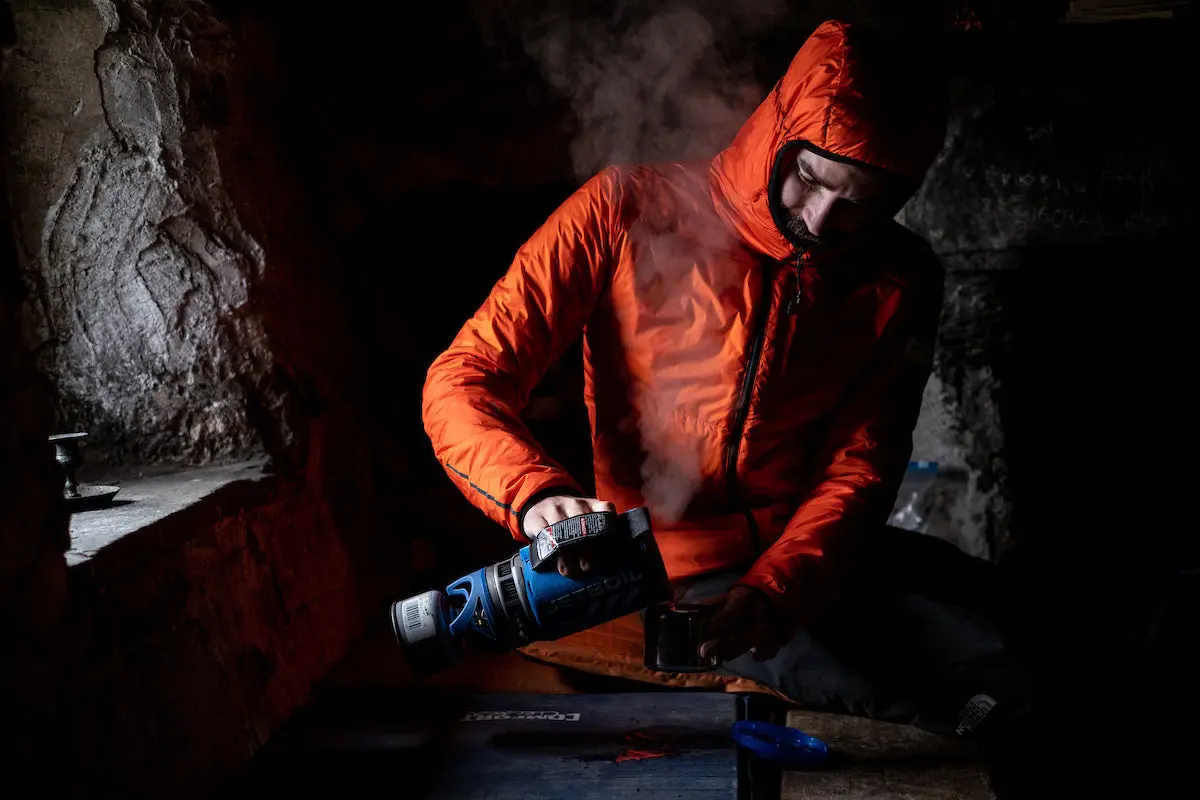
Warmth doesn’t come from fibres, Graeme explains, it comes from the air trapped within the fibres. Insulation is key to warmth, which gives us Graeme’s catchphrase for warmth - “always more puff!”. Anything that creates trapped air will be more warming than a layer of solid material. This means meshes and down are crucial for having warmth to low weight. A good example is down jackets, by adding a thin extra layer of windproof material to the outer shell of an insulated jacket you add an extra layer of insulation between the ribbing and the windproofing but also isolate the cold spots where the ribbing is sewn (see diagram).
Another example is as mentioned above, the mesh baselayer can be added to another layer to trap air. The great part is air is weightless so more puff doesn’t mean more weight!
4. How do you keep your winter kit system breathable on trips like this?
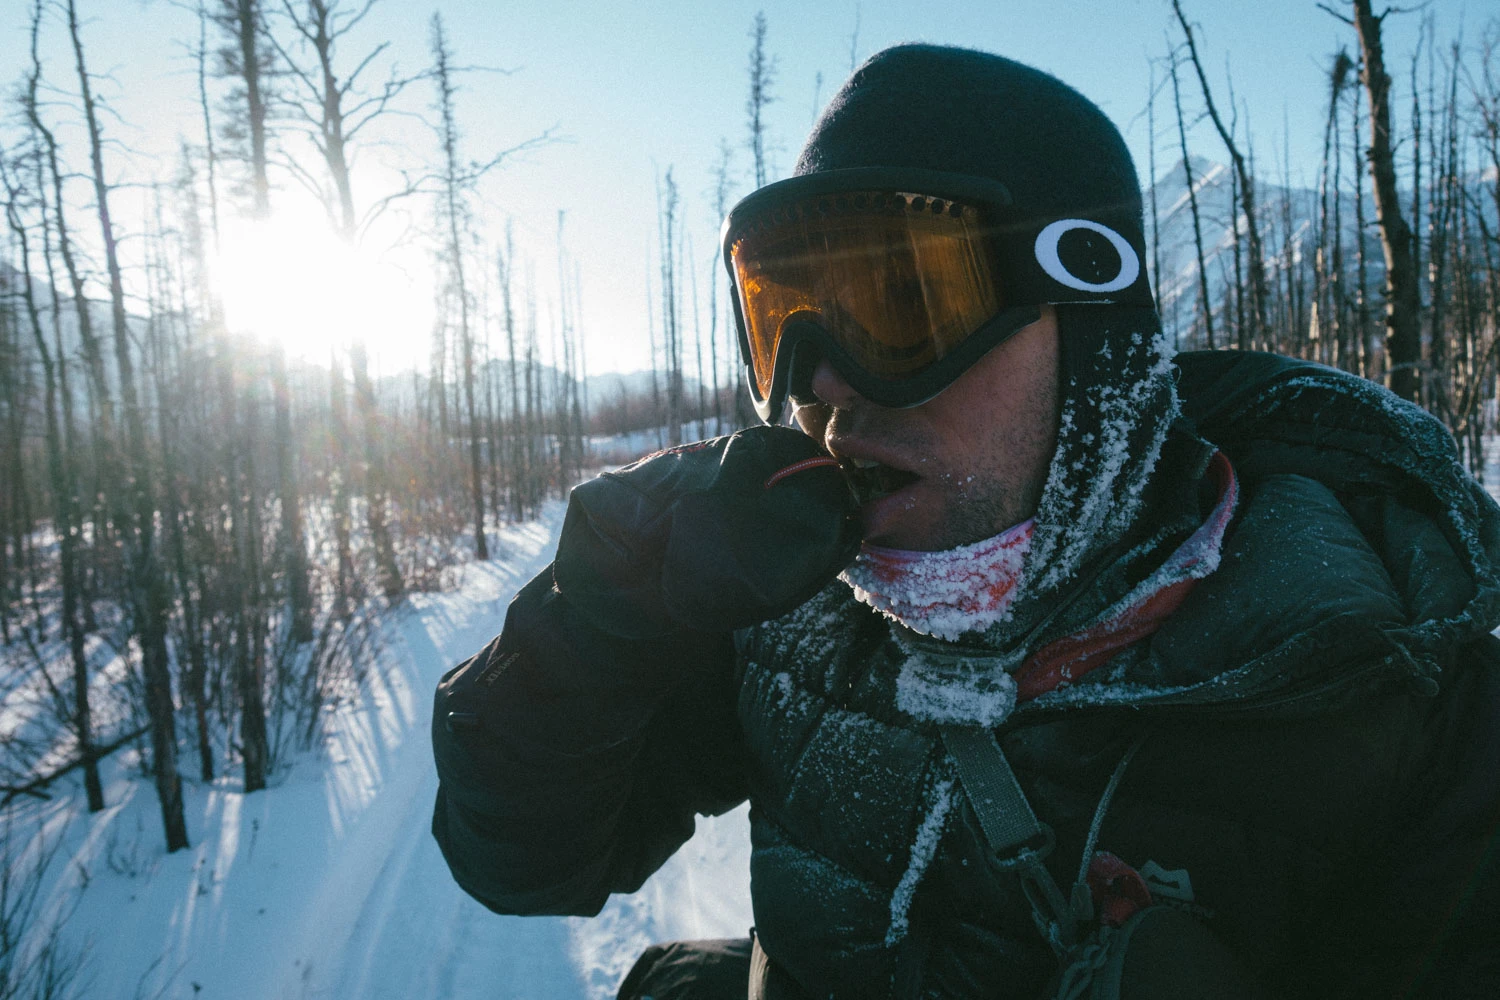
A unique part of the conditions being so cold on the Iditarod is that it is so cold there’s no precipitation, leaving the atmosphere cold and dry. This sets up a water gradient from high water (the sweat on your body) to low water (the dry air) so breathability is less of an issue in these cold and dry conditions than the cold and wet you’d experience in the UK winters. Graeme explains further that the sub-zero temperatures are perfect for pushing out moisture, but the cold means the worry becomes the sweat freezing before it even has a chance to evaporate. The best way to avoid this is to maintain a consistent exertion level rather than to worry too much about breathability. The breathability is achieved with technical fabrics and sensible layering, which is necessary on all riding gear but, at this level, it is key to prevent moisture in the first place. As well as maintaining a constant level of exertion the athletes need to make sure they are regulating temperatures using the “heat dumping” techniques explained above. As soon as they start feeling hot it’s important to quickly offload heat to prevent sweating.
Photo by
5. One thing I’ve noticed that can be make or break on the ITI is the wind. This must affect the athletes. Can you tell us more about this?
The wind isn’t just an inconvenience making your ride a little slower, winds can affect your perception of the outside temperature. Windchill can change a mild day into a chilly one quite easily so when riding it is important to consider this. The weather forecast might say it’s mild but with a 20mph wind you could easily begin to lose a lot of heat, this is the windchill.
Windchill comes from two different sources, movement wind and the natural atmospheric wind. On fast rides, like the riders on the Grand Tours stuffing newspaper down their jerseys, the wind speed can be greatly affected by the speed of riding. If you’re going to be descending fast or doing an all-out effort on a flat road then keeping the wind off will ensure you stay warm and is directly proportional to how fast you’re going, which makes it a little easier to work out what to take into consideration. If you’re climbing up and down a lot, a removable item like a gilet or a chest insulator would be a good item to bring along.
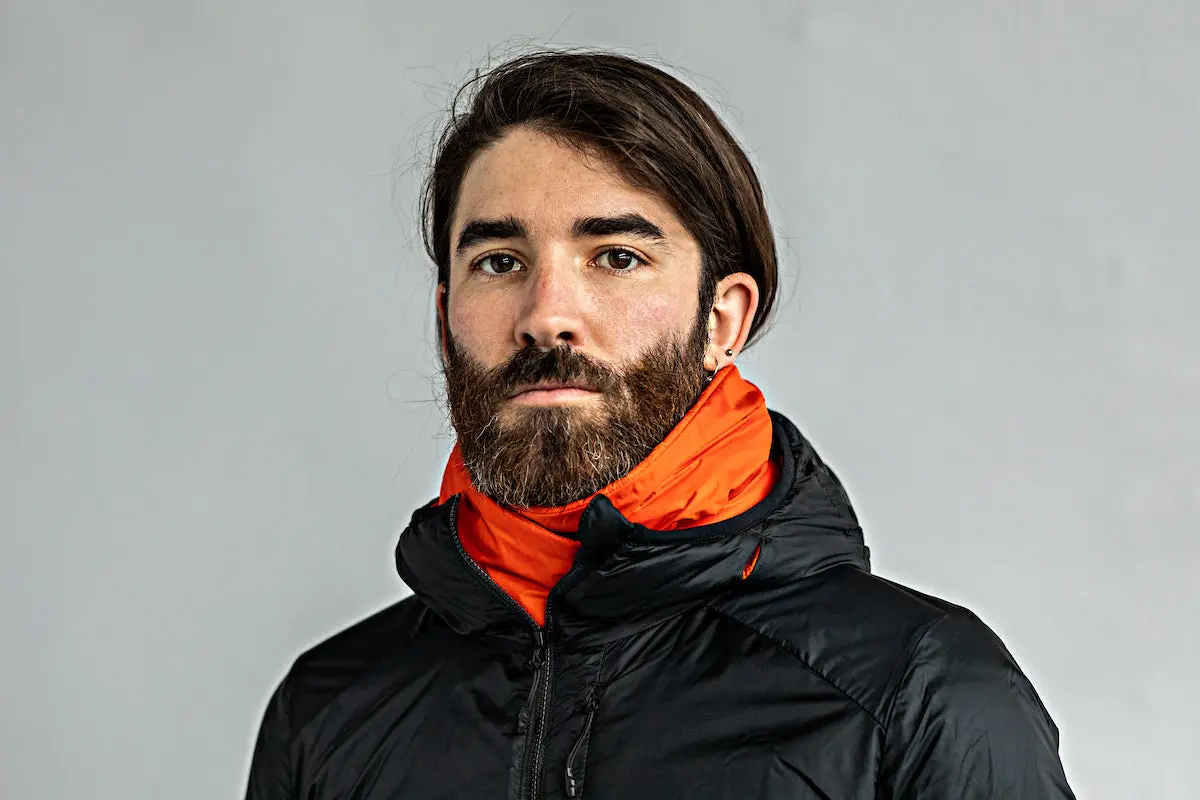
Picture by showing how you can use windproof insulated layers for warmth.
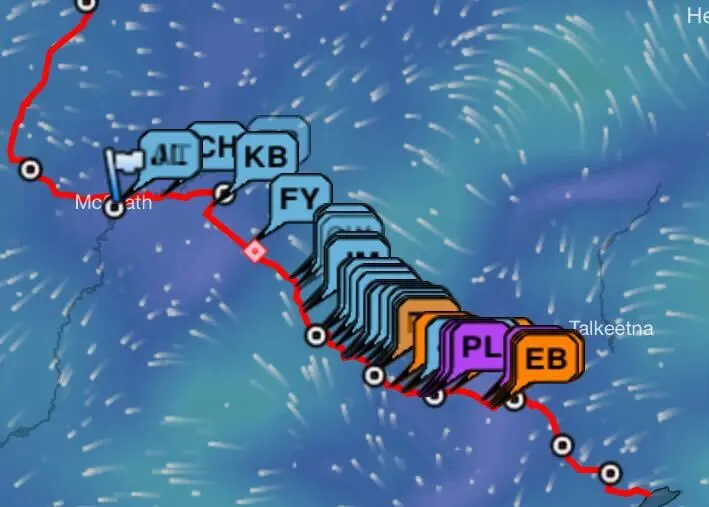
However, on the Iditarod it is unlikely athletes will be moving fast enough to create a windchill from their riding but, the open tundra has high winds as the open landscape provides little shelter. As shown in the above view, this is the wind at the ITI. The Department of Fish and Game in Alaska explains, “These winds can pose challenges for life: wind dries and chills, and can pick up dust, snow, and debris, scouring any exposed plant or animal tissue.” So athletes must be always prepared for high winds. This means windproof clothing on the outer layer is more important than waterproof. With precipitation unlikely, chill from wind is a priority to protect from.
The other consideration is windburn, a bit like freezer burn this can quickly creep up and damage skin. Windburn can happen when the wind is in direct contact with the skin or a layer in contact with the skin. To counteract this, a layer of insulation between the wind and the skin will prevent direct contact and drastically decrease the likelihood of windburn whilst also providing extra warmth.